


Blog 
Click here to go back
An Innovative Way to Track Crop Costs in QuickBooks

This is the fifth in a series of blog posts that will specifically examine QuickBooks from an agriculture perspective. There is no “QuickBooks for Ag”. So how can we use some of the features in QuickBooks if we are in the ag business?
Determining the profit and/or loss for individual projects is critical for businesses like contracting, architecture, engineering, and others. Agriculture bears some similarity to these other types of businesses. That is, the profitability of the enterprise depends on the financial performance of individual crops grown.
With that established, we can look at features in QuickBooks meant to aid in the management accounting of project-based businesses and see if they might have application in agriculture.
Basically, our desired outcome is the same. To isolate the income and expense for individual projects or crops in order to examine how profitable they actually are.
Let’s try this out in an agriculture setting.
Crops as Customer/Jobs
Some of these steps are going to sound strange. Just be patient, work through the entire solution, and you’ll see where all this takes us in the end.
Setup you crops and/or fields as customers. You don’t need much information, just a name. It may help if you use the Customer-Job hierarchy in QuickBooks.
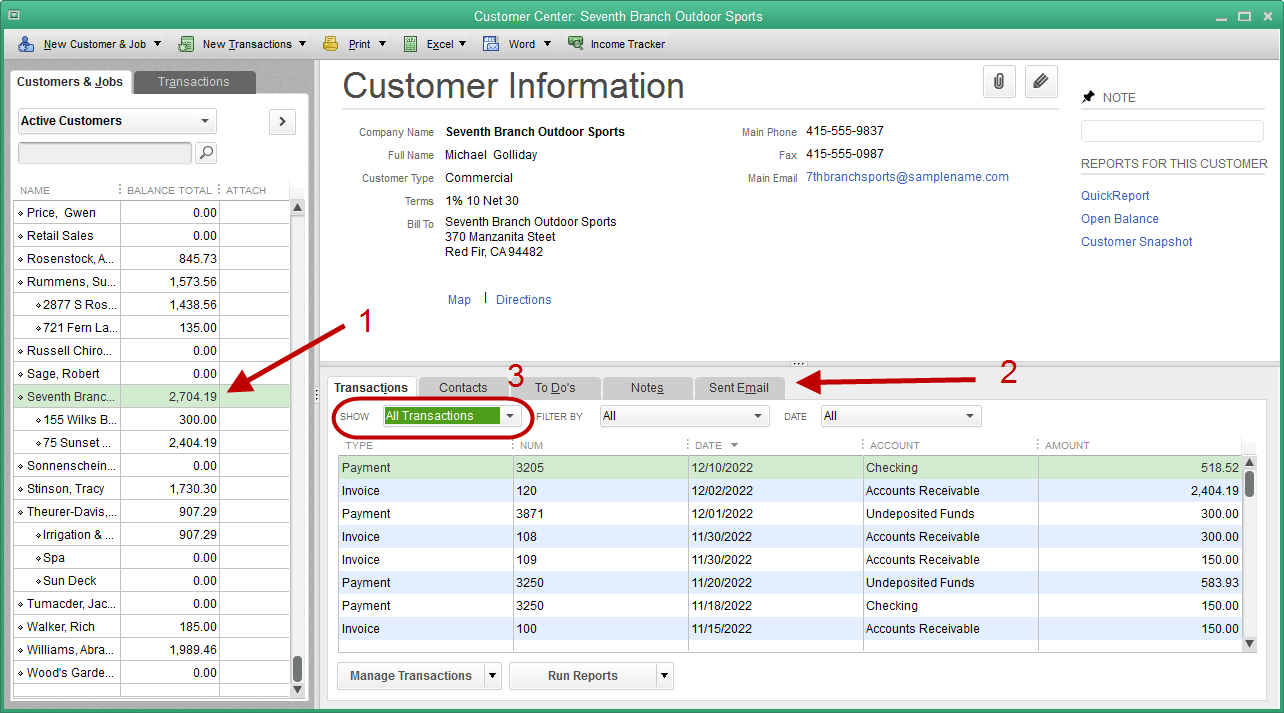
In the above screenshot, the customers shown are Wheat and Corn. The indented entries 2018/19 and 2018 are jobs created under those customers. Over time, one can keep the original customers and just add jobs to designate each crop year. As those crop years come to a close, they can be made inactive to keep the length of the customer list as short as possible.
Items Not Accounts
Our next challenge is to think in terms of items rather than accounts. The simple reason is that job or project type reports in QuickBooks gather numerical information from items rather than accounts.
It’s a simple process. A few minutes setting up a few basic items and you’ll be up and running.
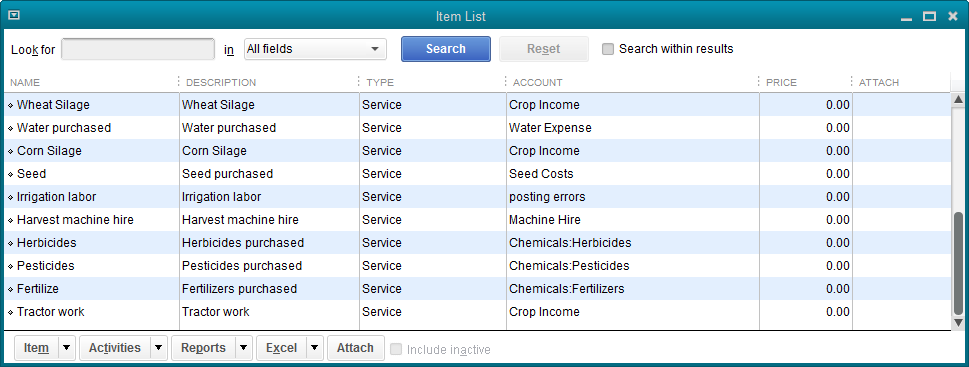
Above is a simple item list setup for an agriculture sample QuickBooks company. Let’s examine the setup of an individual item.
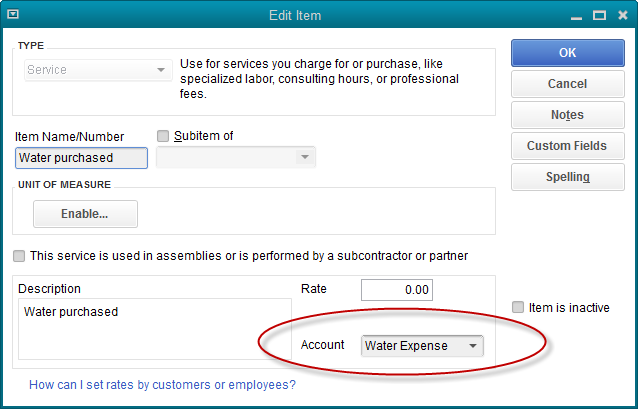
We’ve used ‘Service’ as the type of item in the upper left-hand field of the setup window. The name of the item only needs to be something recognizable to you the user. The description is completely up to your discretion.
The account is the most important setting. In this example, Water Expense is used. Normally QuickBooks expects income type of accounts to be used in items like this and you may get a message telling you that. It’s okay. We’re making QuickBooks features created for a purpose work for us in a different way.
Set up items like this for the different major expenses you would want to track as part of a review of the profitability of a certain crop and/or field. You can see a few more examples two graphics ago, in the item list.
Don’t sweat it too much at the initial setup phase. You can add items as you go along. As you use this method, undoubtedly you will make additional alterations as you gain experience and find the right mix of items for your liking.
One last item you will need is for the sale of the crop. The only difference with this item will be the account. The sale will create income and an income type of account should be used in the item setup.
Recording The Transactions
Now that we have customer:jobs(crops:years) and items, the next important step is using these them on transactions.
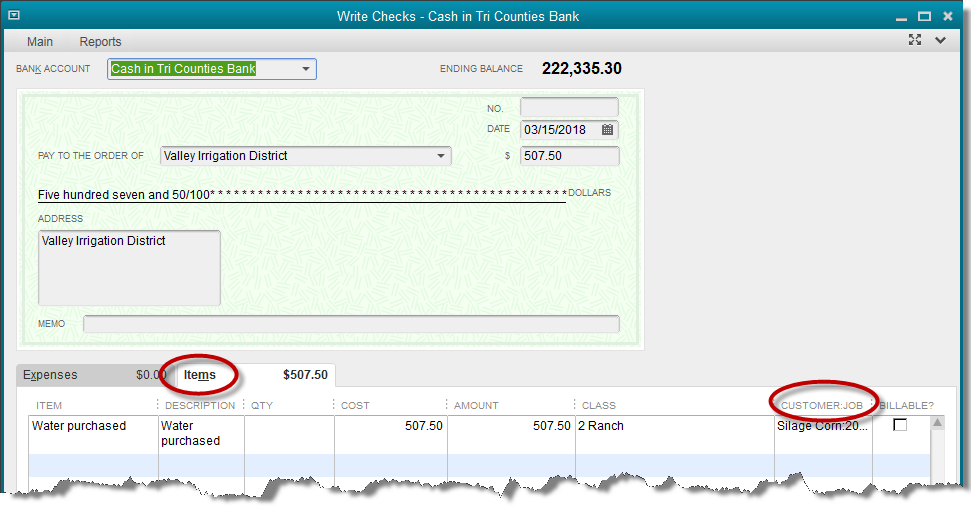
There are two things somewhat unique about the check above. One, the Items tab is used rather than the Expense tab. This allows us to use the items created in the last step, like Water Purchased.
Second, we’ve used the Customer/Job column on the stub portion of the check. This column is only used for tracking jobs or projects. That’s the process we’re imitating. We are thinking of one crop or field as a project. Since we’ve already setup our crops and/or fields as customers, insert that name in this column.
Recording The Sale of The Crop
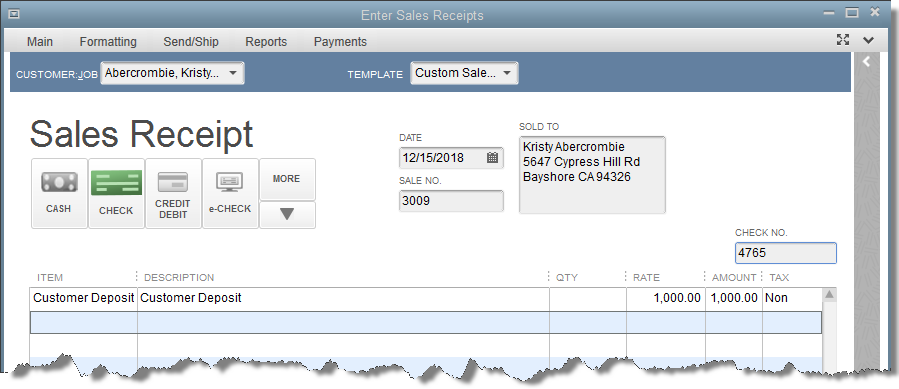
When the crop is sold, use a sales receipt to record the sale, using the item created for that purpose. This item was discussed a few paragraphs ago when we covered creation of items.
The Result
That’s the procedure for adding the income and expense to QuickBooks. The result is a report showing the financial performance of a particular project, or as we are using these features here, a particular crop or field.
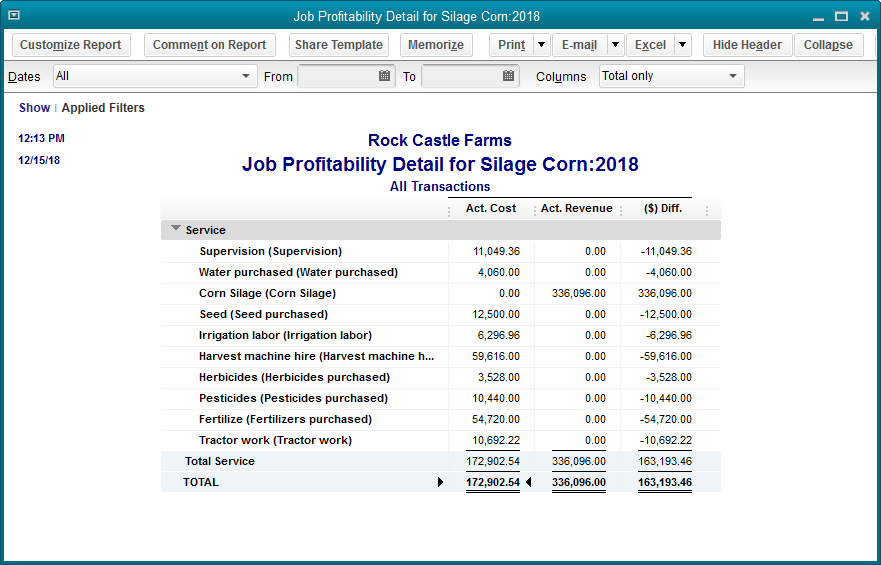
The above report is a Job Profitability Report. It can be accessed in QuickBooks by navigating to: Reports->Jobs,Time,& Mileage->Job Profitability Detail report.
You can watch a video of the above procedure here.