


Blog 
Click here to go back
Crop Budgets
This is the sixth in a series of blog posts that will specifically examine QuickBooks from an agriculture perspective. There is no “QuickBooks for Ag”. So how can we use some of the features in QuickBooks if we are in the ag business?
Usually, there is some kind of budget for each particular crop. This may be as simple as a few figures memorized in your head. It may be a more detailed Excel worksheet. A third possibility is QuickBooks.
This week and next, we will examine the tools in QuickBooks that can help with budgets. There’s more than one. And there’s more than one budget. A budget, even if mental, can be for the entire operation. A budget could be for each location if there is more than one. A budget for each crop or animal purchase is a third option.
Let’s start with the highest level budget tool in QuickBooks.
On the Company drop down menu is a section labeled Planning & Budgeting. In this section, choose Set Up Budgets.
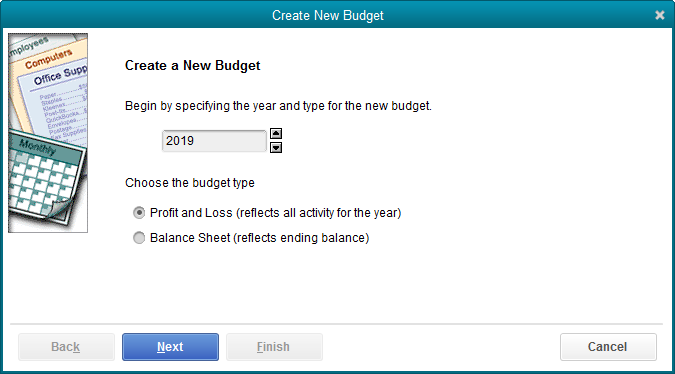
The wizard for creating a budget in QuickBooks will walk you through a couple of steps, asking pertinent questions along the way. Above is the first step. What year is this budget for? Do we want a budget for Profit and Loss or Balance Sheet?
Profit and Loss is by far the usual choice and we’ll use that today.
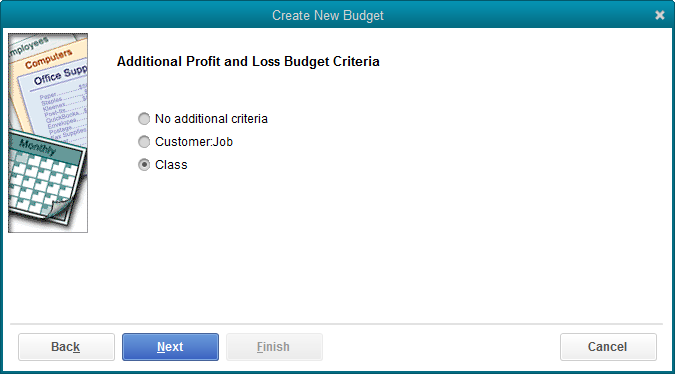
The second screen gives us several options, from high-level budgets to very specific.
The ‘No additional criteria’ option allows us to create one budget for the entire operation. The option ‘Customer:job’ will create a budget for one particular customer or project. Think back to last week’s post about setting up crops as customers and projects. The option in this budget setup window would allow a budget to be created for a specific crop or field.
The third option is only available if we are using the class feature in QuickBooks. The ag sample file has three locations and uses the class feature to breakdown the income and expense for each. Using the class option allows us to create a budget for each location.
For today’s example, that is the option we will choose.
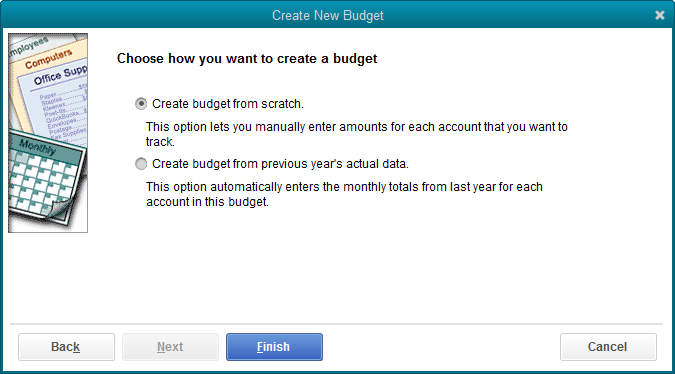
The final step is to tell QuickBooks if we want to create a budget by manually entering estimated income and expense, or base those numbers on the prior year. We will manually add the numbers for our budget.
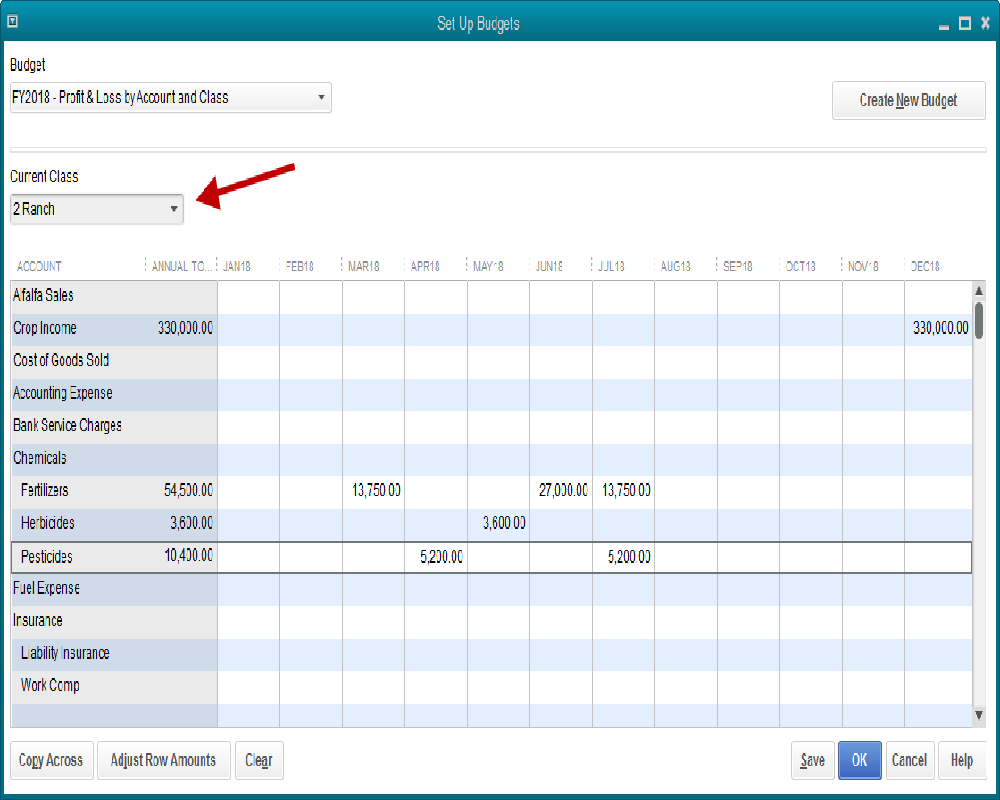
Since we selected the budget by class option, we have a drop-down list in the set up budget window. The arrow in the screenshot points to that. We’ve chosen ranch #2 for the class.
At this point it’s a matter of entering the estimated income and expense into the appropriate fields. The income and expense accounts form the rows of the budget form, the months of the year, the columns.
There are two buttons in the lower left that provide tools if you are able to automate part of this process. You could automatically copy a single number across all months for a particular expense for example. Or increase it by a set percentage each month.
Once a budget is complete and saved, there are a couple of budget comparison reports at Reports->Budgets & Forecasts.
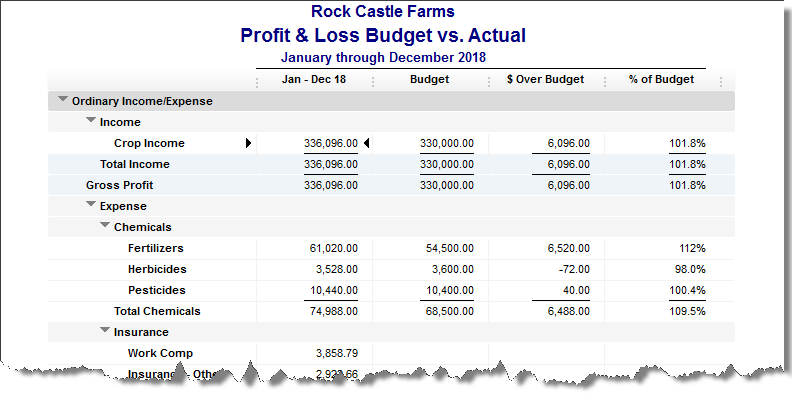
Above is a Budget vs Actual report. Normally this report shows the account totals by month. We reduced the columns to just one for the total year in order to show more of the report results in the screenshot.
In my opinion, this budgeting tool works best on an overall company budget, or a location budget. It will certainly work for crops and fields as well. But it’s a little time consuming.
We have another idea for budgeting at the crop or field level. More on that next time.
You can watch a video of this QuickBooks feature here.