


Blog 
Click here to go back
Putting Out The Fire

The need for regular backups cannot be over-emphasized. Just like paper files can be lost in a fire, digital files can be lost as a result of a computer malfunction. In fact fire can do both, burn paper files and most assuredly cause computer malfunction.
Three to four times each month I still receive requests to work with a client over the phone and walk them through the steps to create a backup they can send the office. They don’t know how to do it. Does this mean they never make a backup at any other time? That’s scary.
A client had a fire a few years ago. Burned the machine shop to the ground. It was a long difficult road back even though insurance covered replacing shop building, equipment, office, etc.
What the insurance didn’t cover was any lost revenue from uncollected invoices. The invoices weren’t collected because all records had been lost in the fire. There were no copies. An estimated $20,000 to $30,000 in invoices for work that had already been done, essentially went up in flames.
That’s the part that almost closed their doors. Permanently.
Now, this same client makes backup copies. Religiously. Every day.
And they safeguard them off-site.
Let’s say they had another fire like the last one. The next morning they would buy a new computer, reinstall QuickBooks, restore the QuickBooks file and be invoicing customers within a couple of hours.
That’s why it’s important.
So, here’s how to safeguard your business against such a disaster.
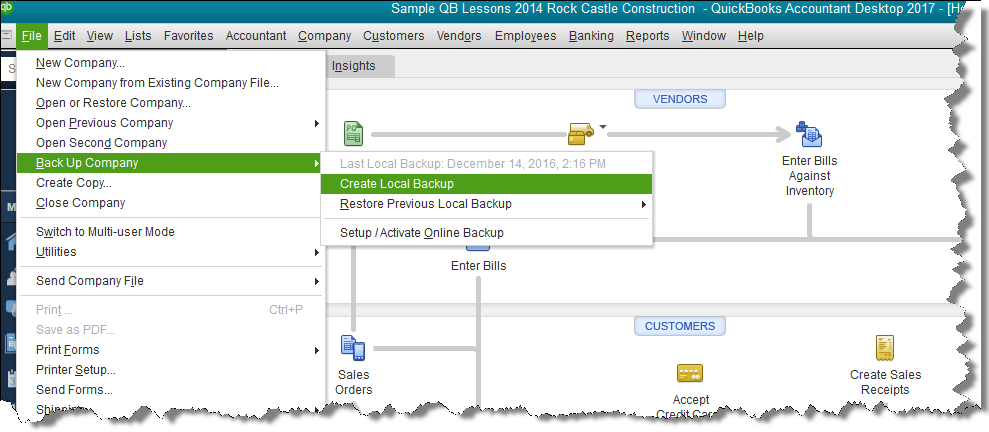
First, select Create Backup from the File dropdown menu.
Accept the default selection, Local backup, in the next window.

QuickBooks will want to know where it should save your backup file. Clicking the Browse button as indicated in the above screenshot will open the smaller Browse for Folder window shown.

Select a location for the backup file. You can select one of the drives by letter. The letter designations (yours will certainly be different than this example), indicate some of your options. If you were planning to save the backup to a flash drive, your choices in the above example would be either E or F.
The next window simply asks when the file should be saved. Accept the default, Save It Now.

The final step in creating the backup confirms the location you chose earlier for saving the file. The upper arrow points to that selection. The bottom points to the file name. This is the name QuickBooks has suggested. Unless you have reason to change the name, you can accept the settings in this window by clicking on the Save button.
QuickBooks creates the backup copy.
That’s it. You’re done.
You can also view this process in a video by clicking here:
https://www.youtube.com/watch?v=XZgpruxGPAc