


Blog 
Click here to go back
Working With Vendor Credits in QuickBooks
Creating a vendor credit is a simple transaction. Start by using the Enter Bills command, then mark the bill form as a credit. It’s an easy click of a button. See the screenshot below.
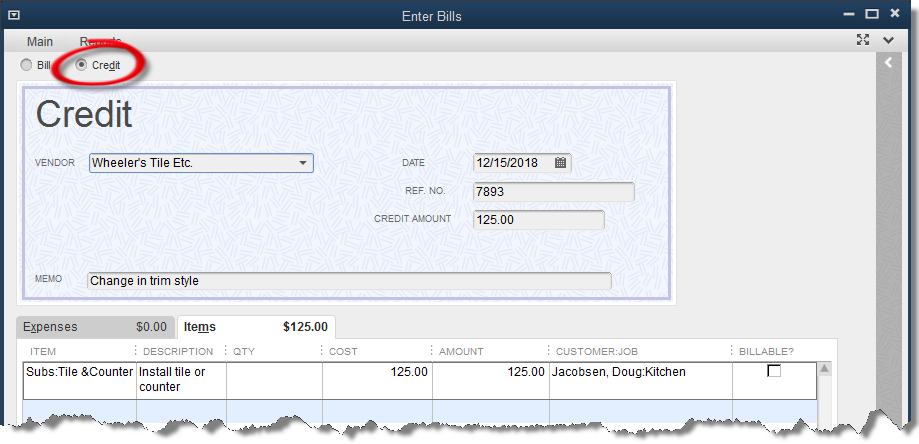
Once QuickBooks knows this is a credit, not a bill, fill in the information as normal. It’s very much like entering a bill.
Open credits that already exist in QuickBooks can be seen on the Unpaid Bills report.

An area that is a struggle for some QuickBooks users is the posting of the credits against payments to vendors.
Credits must be taken against an individual bill. That is, they cannot be used on a vendor payment check without first applying them to a bill.

The left-hand arrow indicates the bill that we wish to pay with a vendor credit. Once a bill has been selected, as it has here in the screenshot, available credits will be shown. See the area indicated by the right-hand arrow.
In this case, we have $125 in credits to be used if we choose.
Clicking the Set Credits button will bring up a list of the available credits to select from. In this example there is only one, the $125 credit we created earlier.
Select this credit and click Done, and the Pay Bills window appears as follows.

Note the change now that we have selected a vendor credit to apply to the bill.
The original amount due, still shows $1250.00. The $125 shows in the Credits Used column. It is subtracted from the original amount, resulting in $1125.00 in the Amt to Pay column.
The bill payment can now be processed as normal. Be sure the correct bank account is selected, as well as the other options chosen, and click on Pay Selected Bills. QuickBooks creates the bill payment check.
There are times when bill credits may equal the amount of a bill, causing a vendor balance of zero. If these transactions have not been applied to one another however, they still show on the Unpaid Bills Detail report.
This can be a problem for accountants. It is best to apply the transactions resulting in no entries for the vendor on the Unpaid Bills report.
Use the same procedure as above. The only difference will be that QuickBooks will not create a check since the resulting amount will be zero.